
Page 116 - TCS ICT Book 8
P. 116
The City School 2021-2022
TimeElapsed=StopTime-StartTime
dis=(TimeElasped/2)*34300
return dis
while True:
D=distance()
D=int(D)
print(“Measured distance= ”, D, “cm”)
t.sleep(0.5)
In this program we are determining distance by using a Sonar Sensor. This explains the
application of sensors and they talk to the real world. We have created the function by
the name of Distance. This function will control voltages to trigger pin which will cause
Sonar Sensor to transmit the ultrasonic sound wave, which is inaudible to human ear,
for 0.0001 seconds. The transmitted wave will bounce back when it hits the object and
will be received by the echo pin. We have included two libraries in this code as well.
First is the RPi.GPIO and second is the time library. Distance is the product of Speed
into time.
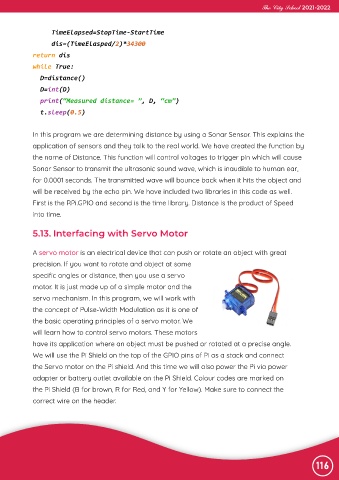
5.13. Interfacing with Servo Motor
A servo motor is an electrical device that can push or rotate an object with great
precision. If you want to rotate and object at some
specific angles or distance, then you use a servo
motor. It is just made up of a simple motor and the
servo mechanism. In this program, we will work with
the concept of Pulse-Width Modulation as it is one of
the basic operating principles of a servo motor. We
will learn how to control servo motors. These motors
have its application where an object must be pushed or rotated at a precise angle.
We will use the Pi Shield on the top of the GPIO pins of Pi as a stack and connect
the Servo motor on the Pi shield. And this time we will also power the Pi via power
adapter or battery outlet available on the Pi Shield. Colour codes are marked on
the Pi Shield (B for brown, R for Red, and Y for Yellow). Make sure to connect the
correct wire on the header.
116