
Page 35 - ClayCraft - Issue 35 (January 2020)
P. 35
DIFFICULTY RATING ★ ★ ★ ★ ★
YOU WILL NEED: 3
■ Clay – earthenware or stoneware, preferably white
■ Small foam block for supporting work as it’s
constructed
■ Underglaze colour – pink or salmon
■ Opalescent glaze suitable for clay type
BEFORE YOU BEGIN:
■ As ever, I would suggest that you find a visual
reference to work from. I’m lucky in that I am
married to a geologist who has many books
showing forms through all the geological ages,
which is where I found the image I used. You can
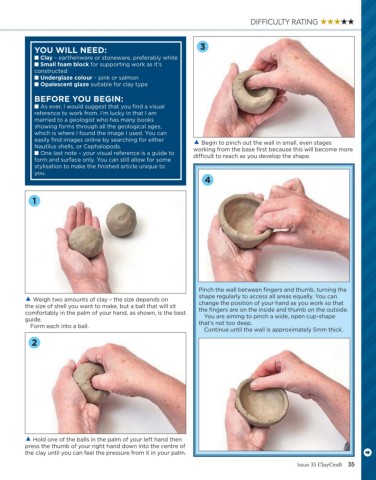
easily find images online by searching for either Begin to pinch out the wall in small, even stages
Nautilus shells, or Cephalopods. working from the base first because this will become more
■ One last note – your visual reference is a guide to dicult to reach as you develop the shape.
form and surface only. You can still allow for some
stylisation to make the finished article unique to
you.
4
1
Pinch the wall between fingers and thumb, turning the
shape regularly to access all areas equally. You can
Weigh two amounts of clay – the size depends on change the position of your hand as you work so that
the size of shell you want to make, but a ball that will sit
comfortably in the palm of your hand, as shown, is the best the fingers are on the inside and thumb on the outside.
You are aiming to pinch a wide, open cup-shape
guide.
Form each into a ball. that’s not too deep.
Continue until the wall is approximately 5mm thick.
2
Hold one of the balls in the palm of your left hand then
press the thumb of your right hand down into the centre of
the clay until you can feel the pressure from it in your palm. .
Issue 35 ClayCraft 35