
Page 152 - Super Scratch Programming Adventure -1st Edition
P. 152
Getting Started with the
PicoBoard
Follow the instructions provided with the kit to install your Pico-
Board. Once it’s connected to your computer via a USB cord, you
can write programs that use the PicoBoard’s sensors.
Before you begin, you should test that everything is work-
ing. Run Scratch, click the Sensing palette, and find the blocks
called slider sensor value and sensor button pressed. These blocks
let you use the PicoBoard’s sensors in your own programs.
Click the checkbox next to slider sensor value, and its mea-
surement will appear on the Stage. When the slider moves back
and forth, the slider’s sensor value changes and the numbers on
the Stage will change, too.
If your values don’t change as the slider moves, try recon-
necting the PicoBoard.
Note If you want to test a sensor other than the slider, just
click the drop-down menu and select the sensor you
want to test. Click the checkbox again and the vari-
able appears on the Stage.
The sensor values range from 0 to 100. The sensor button
pressed value is true or false. To use the blocks in your programs,
you just need to drag them to the Scripts Area for your sprite,
just like with any other block.
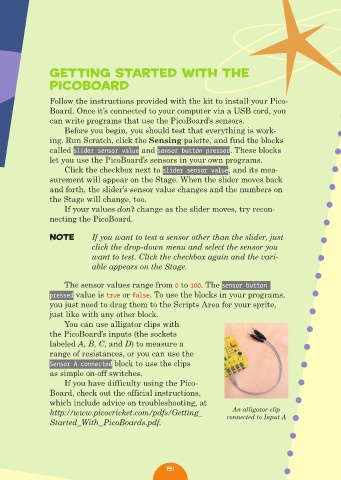
You can use alligator clips with
the PicoBoard’s inputs (the sockets
labeled A, B, C, and D) to measure a
range of resistances, or you can use the
Sensor A connected block to use the clips
as simple on-off switches.
If you have difficulty using the Pico-
Board, check out the official instructions,
which include advice on troubleshooting, at
http://www.picocricket.com/pdfs/Getting_ An alligator clip
connected to Input A
Started_With_PicoBoards.pdf.
151