
Page 31 - Making Cards & Papercraft (February 2020)
P. 31
What do I need?
Lifting dry ink
All items at start plus
Vintage book pages
& PAPERCRAFT
Lifting dry ink
1 Create an 11.5x16.5cm white top folding card blank. FREE EMAIL
Cut a second piece of white card to 10x15.2cm. For this card, we
2 are going to take a second print from whatever ink and detail is NEWSLETTER
remaining on the Gel Press from our rst card (Picture F).
FREE digital bonus craft papers
Follow Steps 3-6 from the previous card to brayer ink on the
3 Gel Press. You need to press a little rmer when the white
FREE projects
panel is on the press with this print as you are lifting dry layers of
paint. Remove the card from the press and you achieve a lighter
detail print (Picture G). EXCLUSIVE
sneak peeks at our crafty content
Use a black ne liner to doodle some lines around the outside
4 edges of the panel. COMPETITIONS
Die-cut a small circle from white card. Apply colour using Step SPECIAL OFFERS
5 7 from the previous card. Adhere the circle to the right of the at exclusive prices
panel. Draw around the circle with a black ne liner. Doodle a stem
from the circle to the bottom of the panel. SHOPPING GUIDES
to the best bargains
Add a few delicate splatters of white paint over the panel using
6 a Posca paint pen. TOP TIPS and interviews
7 Add a Quote Chip to the bottom left of the panel. READER MAKES and community updates
Layer the panel on white card, coloured with Wilted Violet
8 Distress oxide and attach to the card front.
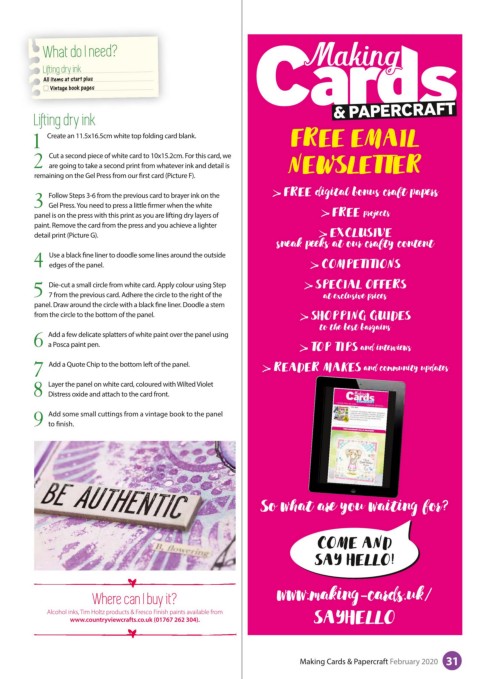
Add some small cuttings from a vintage book to the panel
9 to nish.
So what are you waiting for?
COME AND
SAY HELLO!
Where can I buy it? www.making-cards.uk/
Alcohol inks, Tim Holtz products & Fresco Finish paints available from SAYHELLO
www.countryviewcrafts.co.uk (01767 262 304).
Making Cards & Papercraft February 2020 31