
Page 26 - Tamiya Model Magazine - Issue 292 (February 2020)
P. 26
FULL-BUILD: WORLD WAR TWO ALLIED AVIATION
EDUARD 1:48 HAWKER TEMPEST MK.V SERIES II ● KIT NO.82122
V
in the wing. However, I
preferred to install the
main part first, including
its moulded core, to give the
assembly better stability.
Adjustments could then be
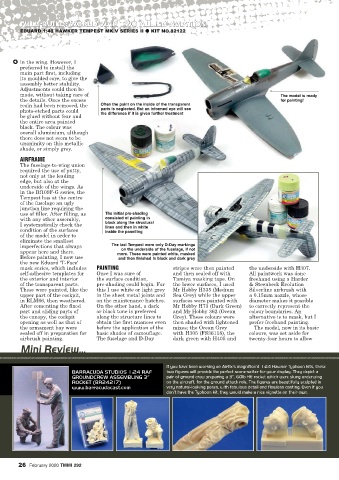
made, without taking care of The model is ready
the details. Once the excess for painting!
resin had been removed, the Often the paint on the inside of the transparent
parts is neglected. But an informed eye will see
photo-etched parts could the difference if it is given further treatment
be glued without fear and
the entire area painted
black. The colour was
overall aluminium, although
there does not seem to be
unanimity on this metallic
shade, or simply grey.
AIRFRAME
The fuselage-to-wing union
required the use of putty,
not only at the leading
edge, but also at the
underside of the wings. As
in the Bf109F-G series, the
Tempest has at the centre
of the fuselage an ugly
junction line requiring the
use of filler. After filling, as The initial pre-shading
with any other assembly, consisted of painting in
black along the structural
I systematically check the lines and then in white
condition of the surfaces inside the panelling
of the model in order to
eliminate the smallest
imperfections that always The last Tempest wore only D-Day markings
on the underside of the fuselage, if not
appear here and there. more. These were painted white, masked
Before painting, I now use and then finished in black and dark grey
the new Eduard 'T-Face'
mask series, which includes PAINTING stripes were then painted the underside with H307.
self-adhesive templates for Once I was sure of and then sealed off with All paintwork was done
the exterior and interior the surface condition, Tamiya masking tape. On freehand using a Harder
of the transparent parts. pre-shading could begin. For the lower surfaces, I used & Steenbeck Evolution
These were painted, like the this I use white or light grey Mr Hobby H335 (Medium Silverline airbrush with
upper part of the cockpit, in the sheet metal joints and Sea Grey) while the upper a 0.15mm nozzle, whose
in RLM66, then weathered. on the maintenance hatches. surfaces were painted with diameter makes it possible
After cementing the fixed On the other hand, a dark Mr Hobby H73 (Dark Green) to correctly represent the
part and sliding parts of or black tone is preferred and Mr Hobby 362 (Ocean colour boundaries. An
the canopy, the cockpit along the structure lines to Grey). These colours were alternative is to mask, but I
opening as well as that of obtain the first nuances even then shaded with lightened prefer freehand painting.
the armament bay were before the application of the mixes; the Ocean Grey The model, now in its basic
sealed off in preparation for basic shades of camouflage. with H305 (FS36118), the colours, was set aside for
airbrush painting. The fuselage and D-Day dark green with H405 and twenty-four hours to allow
Mini Review...
If you have been working on Airfix’s magnificent 1:24 Hawker Typhoon kits, these
BARRACUDA STUDIOS 1:24 RAF two figures will provide the perfect scene-setter for your display. They depict a
GROUNDCREW ASSEMBLING 3” pair of ground crew preparing a 3”, 60lb HE rocket which were slung underwing
ROCKET (BR24217) on the aircraft, for the ground attack role. The figures are beautifully sculpted in
www.barracudacast.com very natural-looking poses, with fabulous detail and flawless casting. Even if you
don’t have the Typhoon kit, they would make a nice vignette on their own.
26 February 2020 TMMI 292