
Page 52 - Jetpower (January 2020)
P. 52
050-051 iGyro SAT:Layout 1 Englisch 09.01.2020 13:55 Uhr Seite 50
JP MINI GYRO
Text/Pictures: Philip Baum
PowerBox
iGyro SAT
The little wonder against wind
The new satellite gyro
from PowerBox
for the CORE-System
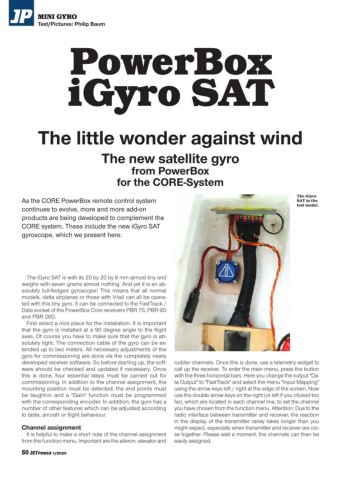
The iGyro
As the CORE PowerBox remote control system SAT in the
test model.
continues to evolve, more and more add-on
products are being developed to complement the
CORE system. These include the new iGyro SAT
gyroscope, which we present here.
The iGyro SAT is with its 20 by 20 by 8 mm almost tiny and
weighs with seven grams almost nothing. And yet it is an ab-
solutely full-fledged gyroscope! This means that all normal
models, delta airplanes or those with V-tail can all be opera-
ted with this tiny gyro. It can be connected to the FastTrack /
Data socket of the PowerBox Core receivers PBR 7S, PBR 9D
and PBR 26D.
First select a nice place for the installation. It is important
that the gyro is installed at a 90 degree angle to the flight
axes. Of course you have to make sure that the gyro is ab-
solutely tight. The connection cable of the gyro can be ex-
tended up to two meters. All necessary adjustments of the
gyro for commissioning are done via the completely newly
developed receiver software. So before starting up, the soft- rudder channels. Once this is done, use a telemetry widget to
ware should be checked and updated if necessary. Once call up the receiver. To enter the main menu, press the button
this is done, four essential steps must be carried out for with the three horizontal bars. Here you change the output "Da-
commissioning. In addition to the channel assignment, the ta Output" to "FastTrack" and select the menu "Input Mapping"
mounting position must be detected, the end points must using the arrow keys left / right at the edge of the screen. Now
be taught-in and a "Gain" function must be programmed use the double arrow keys on the right (or left if you clicked too
with the corresponding encoder. In addition, the gyro has a far), which are located in each channel line, to set the channel
number of other features which can be adjusted according you have chosen from the function menu. Attention: Due to the
to taste, aircraft or flight behaviour. radio interface between transmitter and receiver, the reaction
in the display of the transmitter rarely takes longer than you
Channel assignment might expect, especially when transmitter and receiver are clo-
It is helpful to make a short note of the channel assignment se together. Please wait a moment, the channels can then be
from the function menu. Important are the aileron, elevator and easily assigned.
50 JETPOWER 1/2020