
Page 13 - QC-Smart_ PSS- Manual_webb ENG_Neat
P. 13
ALARMS Alarm Manager
This section will cover all of the areas of Smart PSS that deal with alarms as they are This window contains the logs of alarm events that have occurred. They can be filtered by level
interrelated. These alarms are in addition to those already set up in your system. You can of severity if you included that when creating your alarm scheme. If events are happening at a
determine which of those pre-configured alerts will generate a notification in Smart PSS and rapid pace, check the Stop Refresh box to “freeze” the list.
you can also create notifications and actions that will occur within the program itself. In this
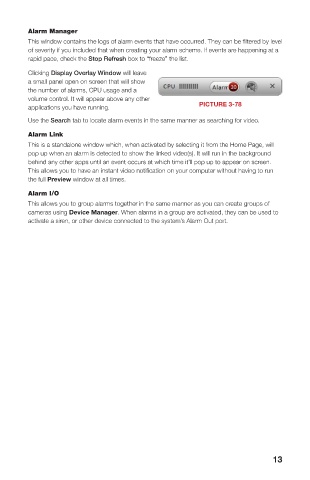
manner, Smart PSS acts as a back up, or second layer of defense for your recorder and Clicking Display Overlay Window will leave
property. If an intruder is able to get to your DVR, and the program is properly configured, you a small panel open on screen that will show
will still retain evidence and be alerted - even if the phone cable at your system’s location is cut. the number of alarms, CPU usage and a
volume control. It will appear above any other
Alarm Setup PICTURE 3-78
applications you have running.
To begin, you will need to create the Alarm
Scheme using the Alarm Setting window. Use the Search tab to locate alarm events in the same manner as searching for video.
Once the window has been opened, you will Alarm Link
need to create a name for this event, set the This is a standalone window which, when activated by selecting it from the Home Page, will
time of day that it will be active and the nature pop up when an alarm is detected to show the linked video(s). It will run in the background
of the event. You can also have the computer behind any other apps until an event occurs at which time it’ll pop up to appear on screen.
play an audible alert and, if the E-map This allows you to have an instant video notification on your computer without having to run
(described later) is configured, the camera’s PICTURE 3-75 the full Preview window at all times.
location will appear on screen. Click Loop
play to have the alarm play until silenced. Alarm I/O
Setting the level is optional. You may decide, This allows you to group alarms together in the same manner as you can create groups of
for instance, that a motion detection event cameras using Device Manager. When alarms in a group are activated, they can be used to
in a certain area is less important (Level 5) activate a siren, or other device connected to the system’s Alarm Out port.
than a similar event in another (Level 1). This
will make it easier to filter alarm events when
searching for a specific event.
After you have created an event, move to
the next tab, Alarm Source, to select the
trigger for the event. Select the trigger(s) from
the list on the left of the window and click
on the >> button to add it to the right panel.
You can limit the type of alarm to just Motion
Detection, Camera Masking or Video Loss, or
you can have all three serve as triggers.
Lastly, in the LInk Video tab, select your PICTURE 3-76
alarm from the Alarm Source list on the left
of the window and then choose which video
source(s) you will be using. Make sure that
your source is highlighted in blue or you will
get an alert asking you to select an alarm
source. Click OK to save your alarm. When
you return to the Alarm list, click on Close to
change it to Open in order to make it active.
If you have alarms attached to your system,
repeat these steps, using the Alarm Input
tab in the Alarm Source window for the
trigger. PICTURE 3-77
12 13