
Page 66 - Fluid Fitting 2018_extended
P. 66
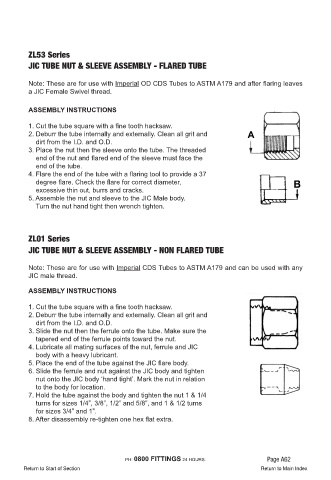
ZL53 Series
              JIC TUBE NUT & SLEEVE ASSEMBLY - FLARED TUBE


              Note: These are for use with Imperial OD CDS Tubes to ASTM A179 and after flaring leaves
              a JIC Female Swivel thread.


              ASSEMBLY INSTRUCTIONS


              1. Cut the tube square with a fine tooth hacksaw.
              2. Deburr the tube internally and externally. Clean all grit and
                  dirt from the I.D. and O.D.
              3. Place the nut then the sleeve onto the tube. The threaded
                  end of the nut and flared end of the sleeve must face the
                  end of the tube.
              4. Flare the end of the tube with a flaring tool to provide a 37
                  degree flare. Check the flare for correct diameter,
                  excessive thin out, burrs and cracks.
              5. Assemble the nut and sleeve to the JIC Male body.
                  Turn the nut hand tight then wrench tighten.


              ZL01 Series
              JIC TUBE NUT & SLEEVE ASSEMBLY - NON FLARED TUBE


              Note: These are for use with Imperial CDS Tubes to ASTM A179 and can be used with any
              JIC male thread.


              ASSEMBLY INSTRUCTIONS

              1. Cut the tube square with a fine tooth hacksaw.
              2. Deburr the tube internally and externally. Clean all grit and
                  dirt from the I.D. and O.D.
              3. Slide the nut then the ferrule onto the tube. Make sure the
                  tapered end of the ferrule points toward the nut.
              4. Lubricate all mating surfaces of the nut, ferrule and JIC
                  body with a heavy lubricant.
              5. Place the end of the tube against the JIC flare body.
              6. Slide the ferrule and nut against the JIC body and tighten
                  nut onto the JIC body ‘hand tight’. Mark the nut in relation
                  to the body for location.
              7. Hold the tube against the body and tighten the nut 1 & 1/4
                  turns for sizes 1/4”, 3/8”, 1/2” and 5/8”, and 1 & 1/2 turns
                  for sizes 3/4” and 1”.
              8. After disassembly re-tighten one hex flat extra.


                                                 PH: 0800 FITTINGS 24 HOURS.                        Page A62
            Return to Start of Section                                                            Return to Main Index