
Page 25 - TCS ICT Book 5
P. 25
The City School 2021-2022
1.7. Adding Effects
Filmora9 has plenty of professional-looking effects that take only a few seconds to
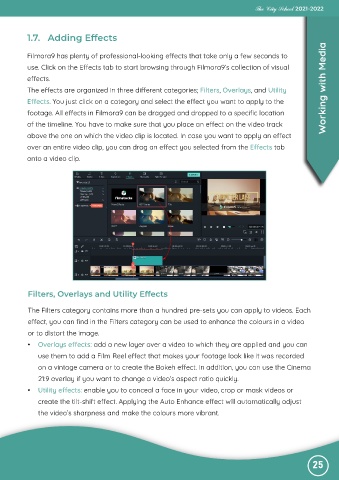
use. Click on the Effects tab to start browsing through Filmora9’s collection of visual
effects.
The effects are organized in three different categories; Filters, Overlays, and Utility Working with Media
Effects. You just click on a category and select the effect you want to apply to the
footage. All effects in Filmora9 can be dragged and dropped to a specific location
of the timeline. You have to make sure that you place an effect on the video track
above the one on which the video clip is located. In case you want to apply an effect
over an entire video clip, you can drag an effect you selected from the Effects tab
onto a video clip.
Filters, Overlays and Utility Effects
The Filters category contains more than a hundred pre-sets you can apply to videos. Each
effect, you can find in the Filters category can be used to enhance the colours in a video
or to distort the image.
• Overlays effects: add a new layer over a video to which they are applied and you can
use them to add a Film Reel effect that makes your footage look like it was recorded
on a vintage camera or to create the Bokeh effect. In addition, you can use the Cinema
21:9 overlay if you want to change a video’s aspect ratio quickly.
• Utility effects: enable you to conceal a face in your video, crop or mask videos or
create the tilt-shift effect. Applying the Auto Enhance effect will automatically adjust
the video’s sharpness and make the colours more vibrant.
25