
Page 34 - Learn To Program With Scratch
P. 34
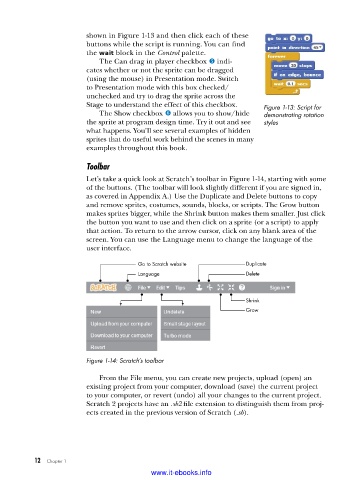
shown in Figure 1-13 and then click each of these
                         buttons while the script is running. You can find
                         the wait block in the Control palette.
                             The Can drag in player checkbox y indi-
                         cates whether or not the sprite can be dragged
                         (using the mouse) in Presentation mode. Switch
                         to Presentation mode with this box checked/
                         unchecked and try to drag the sprite across the
                         Stage to understand the effect of this checkbox.  Figure 1-13: Script for
                             The Show checkbox z allows you to show/hide   demonstrating rotation
                         the sprite at program design time. Try it out and see   styles
                         what happens. You’ll see several examples of hidden
                         sprites that do useful work behind the scenes in many
                         examples throughout this book.

                         Toolbar
                         Let’s take a quick look at Scratch’s toolbar in Figure 1-14, starting with some
                         of the buttons. (The toolbar will look slightly different if you are signed in,
                         as covered in Appendix A.) Use the Duplicate and Delete buttons to copy
                         and remove sprites, costumes, sounds, blocks, or scripts. The Grow button
                         makes sprites bigger, while the Shrink button makes them smaller. Just click
                         the button you want to use and then click on a sprite (or a script) to apply
                         that action. To return to the arrow cursor, click on any blank area of the
                         screen. You can use the Language menu to change the language of the
                         user interface.

                                       Go to Scratch website         Duplicate
                                       Language                      Delete


                                                                     Shrink
                                                                     Grow


                         Figure 1-14: Scratch’s toolbar

                             From the File menu, you can create new projects, upload (open) an
                         existing project from your computer, download (save) the current project
                         to your computer, or revert (undo) all your changes to the current project.
                         Scratch 2 projects have an .sb2 file extension to distinguish them from proj-
                         ects created in the previous version of Scratch (.sb).


           12   Chapter 1
                                           www.it-ebooks.info